A quick walkthrough of the Project Card Generator. Watch me fill the form, create a clean HTML snippet, and paste it into a Squarespace blog post in under two minutes.
FAQ
Who is this for
Bloggers, educators, and small shops that want consistent project or product cards without coding. If you can paste into a website editor, you can use it.
What does it do
It generates a clean HTML snippet with scoped CSS for a single project card. You fill a short form, click Generate, and copy the result.
When should I use it
Use it when you need repeatable cards for posts, tutorials, product highlights, or roundups. It is ideal when you want a uniform look and quick publishing.
Where does it work
WordPress Custom HTML block, Squarespace Code block, and most CMS editors that accept raw HTML. Not recommended for email newsletters that strip CSS.
Why choose this
It is faster, consistent, and avoids theme conflicts. No scripts. Classes are prefixed and styles are scoped to the card wrapper.
How do I use it
- Open the tool and enter title, description, links, and image URL.
- Click Generate to create the snippet.
- Copy and paste into your site’s HTML or Code block.
- Edit the small style section to adjust fonts and colors.
Tip: use absolute image URLs from your media library or CDN.
What can I use it for
- Blog project cards for posts and tutorials
- Recipe cards or materials and steps blocks
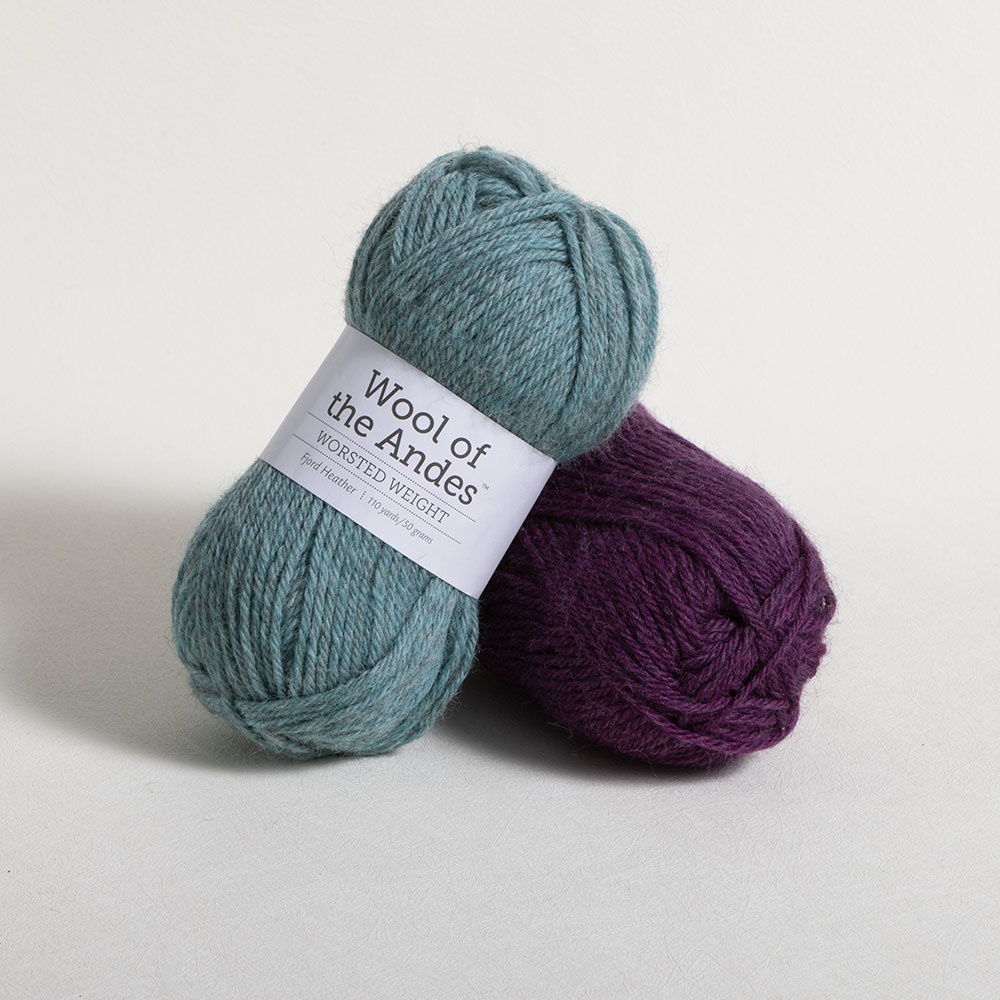
- Sewing or craft pattern cards with size, skill level, and links
- Product or affiliate highlights and roundups
- Class or workshop modules with syllabus and resources
- Portfolio case studies or before and after project summaries
- Resource library tiles that link to downloads
- Event or announcement cards with date, location, and RSVP
- Comparison cards for Option A vs Option B
- Video cards that feature a YouTube or Vimeo link with a call to action
Why use project and recipe cards for SEO and Pinterest
- Clear structure. Headings and lists make content easy to scan and easier for search engines to parse.
- Higher engagement. Consistent layout improves readability, which can help visitors stay longer and click more.
- Natural keywords. Titles, summaries, and list items give clean places to use target phrases without stuffing.
- Pinterest friendly. Each card pairs copy with an image and a Pin link, making it simple for visitors to save.
- Reusable and consistent. Uniform markup across posts keeps styling on brand and reduces formatting errors.